How to Start a Blog and Earn Money Online


Do you wish to start a blog? Are you confused about where to begin?
Well, you’re at the right place.
This guide will spill all the secrets to help you start a blog and earn money from it.
You do want to earn money online, right? I want the same.
Pro Tip: In business, whether offline or online, you earn money when you generate a sale and make some profit. That’s Business 101! So, don’t be shy about promoting the products or services that you use or love to the people who you think may get benefited by using the same.
My name is Subhadip Mondal. I’m a filmmaker and an equally passionate guitarist. I run a YouTube Channel, where I post quality videos related to these domains. I post regularly about photo & video editing, guitar playing, blogging, and YouTube.
I find the feeling of helping people upskill themselves in the field of filmmaking, video editing, blogging and learning guitar immensely gratifying.
I’d love to help you get started on your blog or YouTube Channel and earn a passive income by using the internet.
When I say this, I speak from my experience. I have been running my blog and YouTube Channel for the past seven years and earning online from Google AdSense and Affiliate Marketing. This has helped me create a side income.
Without any further ado, I would like to help you achieve the same and start your blog.
This article will help you dive into the depths of how you can start a successful blog.
It will also help you sign up for Google AdSense and Amazon Affiliate Program to help you start earning as soon as you publish your first blog.
There are two ways you can do this: free and paid. I will help you out with both; the ultimate choice is yours.
However, if you plan on making a career out of blogging, you might want to invest in building a professional website.
To help you make an informed decision, I will discuss the pros and cons of each free and paid way.
If you consider blogging seriously, you should know that you will need to invest in the Domain Name and a Hosting Plan.
We will understand more about it further in the blog. Don’t worry, the investment is minimal and will not cost you a fortune.
This blog (subhadipmondal.com/blog) and all my 6 other websites are hosted on HostGator. I have been using their “Multi Domain Linux Hosting Plan” since the beginning of my Blogging Career. I am a satisfied customer of HostGator and have never faced any issues with them.
I strongly recommend using HostGator for all your hosting needs and will show you how you can get your blog hosted on the same.


You can also purchase your first hosting plan through the Affiliate Links that I will provide ahead along with a discount code that will help you save a lot of money on your first purchase and I will also earn a small commission from HostGator.
Ain’t that a win-win?
Pro Tip: Using the same technique of Affiliate marketing, you can earn online as well. Write about the products you use and are passionate about and share the affiliate links to get paid. Just type in the search term “How to start a Blog” and you’ll see tons of affiliate links in each article belonging to that search.
When anyone searches this, they usually consider buying a Domain Name and a Hosting Plan to start their professional blog. Thus, when you share your affiliate links, the customers can enjoy a discount and you get a small commission.
If you don’t want to get your Hosting Plan from HostGator, you can check out BlueHost or Hostinger. I will discuss both of them in detail ahead. Otherwise you may also go ahead with any other Hosting Provider that fits your requirements.
Note: If you want to start a YouTube Channel, then read this article.
So, are you ready to start a blog today?
Following are the steps that will help you start a blog:
- Choose your Blog Name and Niche
- Start your Blog for FREE on blogger.com or wordpress.com
- Otherwise, get a professional Domain Name
- Get a reliable Hosting Plan
- Install WordPress and Customize Your Blog for FREE
- Publish your First Post
- Make Money from Your Blog
The answer to the question, “How to start a blog” begins by identifying the niche you’re interested in.


Niche refers to a specific domain you specialize in and write about.
What would you like to write about? What’s your passion?
Ask these questions to yourself and try to explore what you enjoy writing about the most.
This will help you understand who your target audience is. Think about the future scope of your niche and create a rough pathway to work on.
Then comes the next big question, “What will you name your blog?”
Your blog name is the first thing your audience will lay eyes on. It has to be perfect.
You can research your niche, look at your competitor’s blogs, find relevant keywords you can easily rank for and decide on a suitable name. You can take help with blog name generators that are available online as well.
Once you get an answer to the questions discussed above, we need to launch our blog. WordPress and Blogger allow you to start your blog for free.
Both these platforms are pretty straightforward to use, flexible and include monetization options.
Let’s consider the pros and cons of both these platforms:
WordPress:
Pros
- Simple to use and easily portable
- Offers more themes and customizations
Cons
- Need high-level technical knowledge to customize
Blogger:
Pros
- Has a simple document editor and low downtime
- Allows easy AdSense integration
Cons
- Limited control over the blog
- Limited customizations are available
Now that we have discussed the free options to start a blog, it’s time we look at blogging professionally. To take up blogging professionally, you will need to buy a domain name. You will find a variety of Domain Name providers online. One of the most popular ones available out there is BigRock.

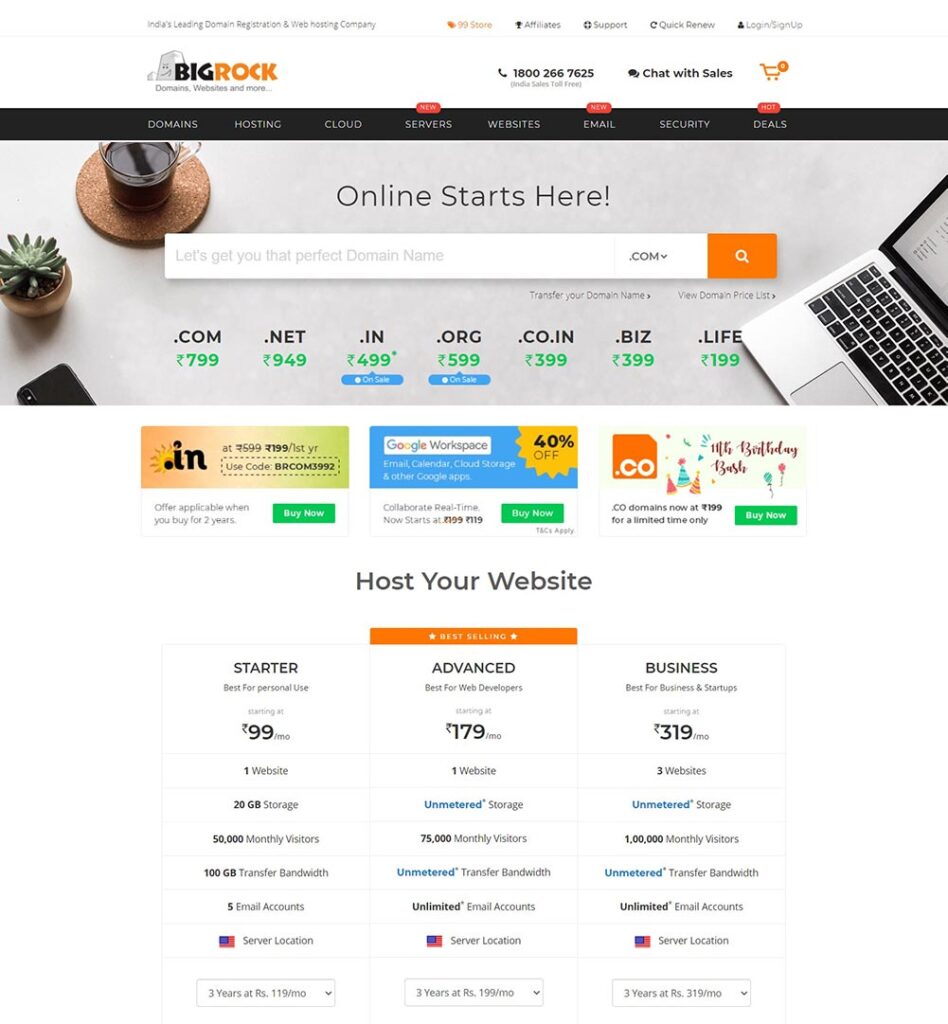
While deciding the domain name, look out at the Top-Level Domain (TLD). In simpler terms, it means what comes in the URL after the dot.
Is it .com, .in or .org? What’s the difference?
- .com symbolizes that the domain is meant for commercial or business purposes.
- .net stands for networking companies.
- .org stands for non-profit or charitable organizations.
- .in stands for India.
Did you find a perfect domain name for your blog? Perfect! Let us discuss Web Hosting plans now.
What is Web Hosting?
Web hosting is a service that lets you have your own space on the internet to store your files. It enables you to use the webserver so that your audience can view your blogs online.
How do you decide on which hosting plan to buy? What do you look for?
Research the uptime, along with the plans they offer, customer support, speed and security.
I strongly recommend that you consider HostGator as your Web Hosting service provider. The multi-domain plan offered by HostGator lets you create multiple blogging websites along with good storage capacity.
I recommend the Multi Domain Plan because in future when you get comfortable with blogging, you may launch new websites all the time to increase your reveneu. So, it may be cumbersome for you to pay for different hosting plans for each of your websites.
HostGator is one of the best web hosting service providers in the industry. It lets you host your blogging website within a blink. It offers plans that fit your budget, with super-fast speed and good security.
To purchase a web hosting plan from HostGator, visit the website and follow the steps mentioned below:
- Select a hosting plan that fits your requirements and preference.
- Select a domain name or enter the domain name that you own and verify it.
- Use the Coupon Code “SUNSHINE” to get a huge discount on your first purchase.
- Upload all your website files on the hosting server
And you’re all set! Now you have a domain name and a hosting service.
Some other Hosting services that you can opt for include: BlueHost and Hostinger.
Following are the pros and cons of these service providers:

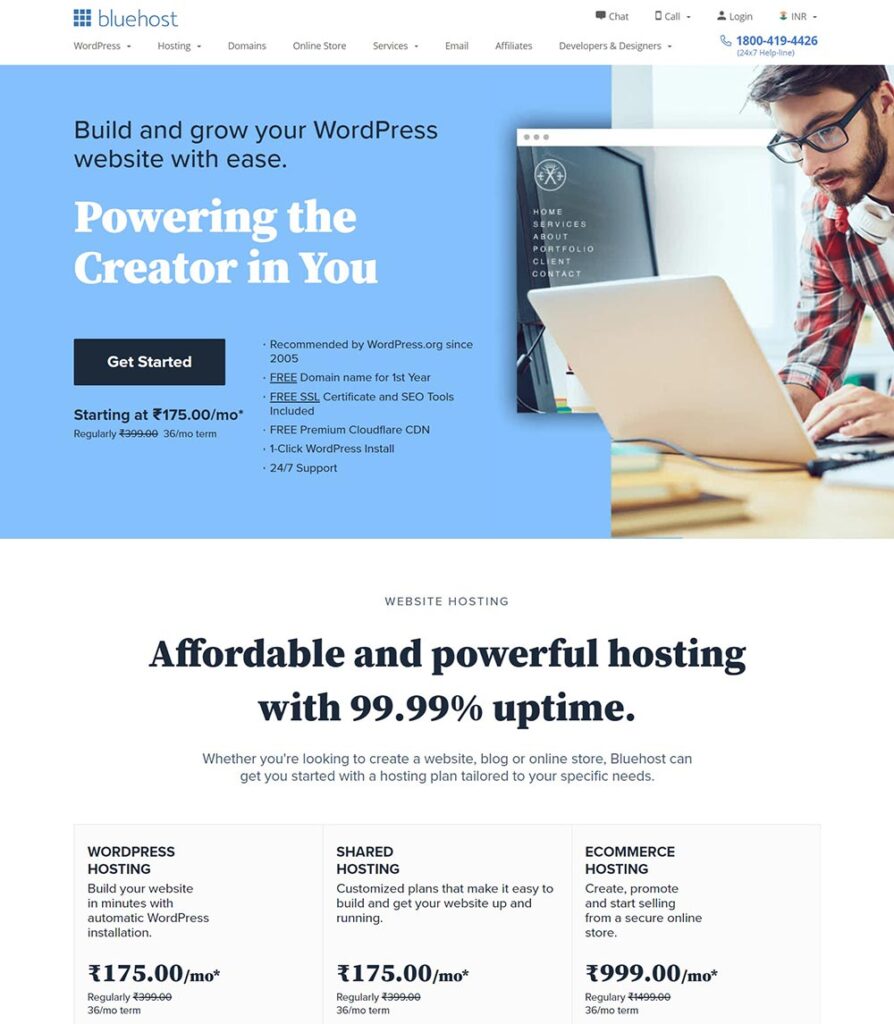
Pros
- Extremely easy to set up and affordable
- Free Domain Name for 1st Year
Cons
- Does not offer free automatic backups
- Uptime is not guaranteed

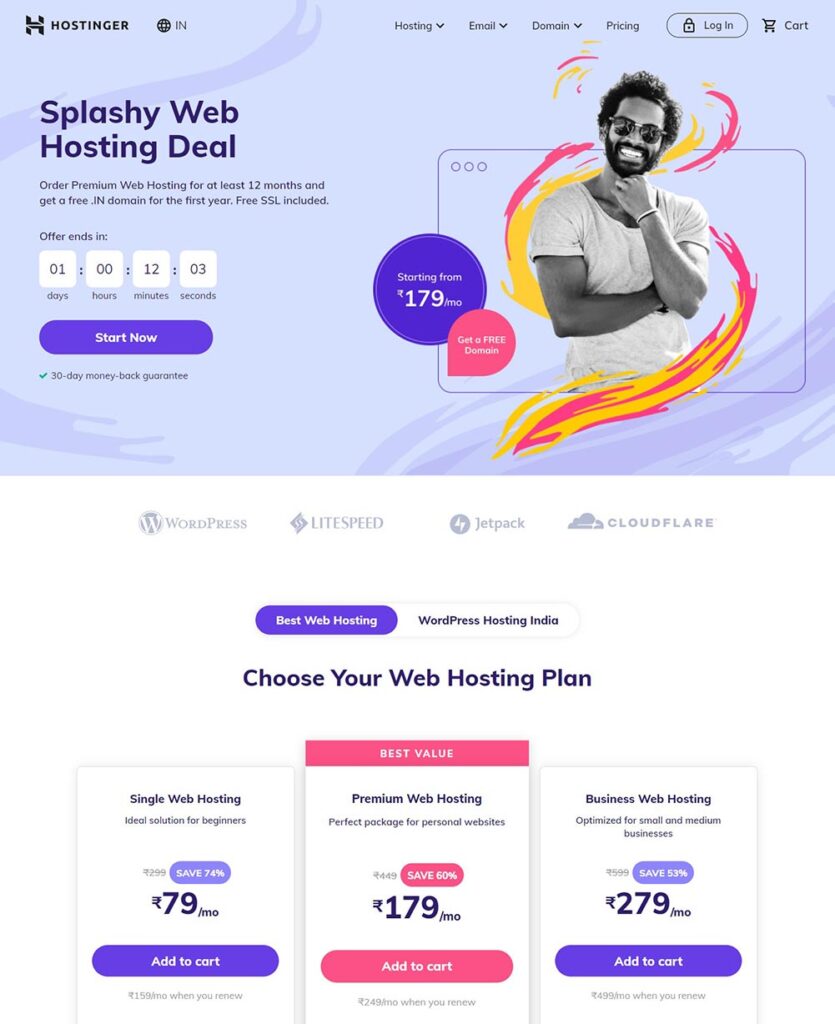
Pros
- Hostinger offers fast servers and speed
- Easy and secure to use
Cons
- Slow customer support
- Pricing is on the higher side
Voila! We have now completed the crucial part of how to start a blog. Let us now dive into how you can install WordPress and use it to customize blogs for free. Let’s assume you are using the web hosting service by HostGator.
- Log in and navigate to the cPanel of HostGator. Under the software tab, locate the option to Quick Install and select WordPress.
- Enter the domain name to begin the installation process.

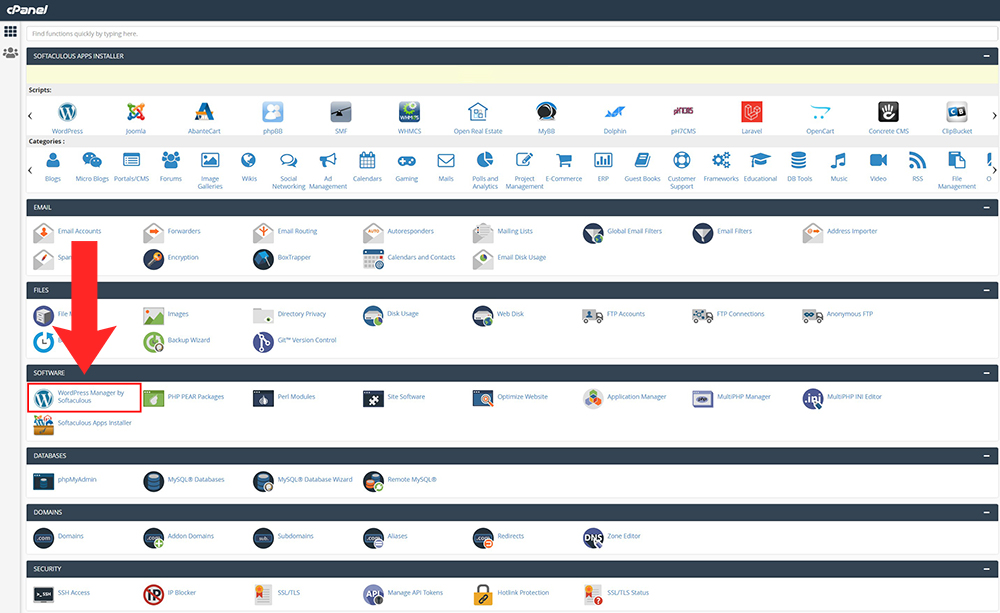
This will install WordPress on your HostGator. You can use the features WordPress offers via the WordPress Dashboard.
On the dashboard, you will see various options that may help you customize your blog. Find the right theme for your blog and customize it according to your preference.
Moreover, you can add and enable free plugins to add more functionality to your blog page.
Here are some of the handpicked free WordPress plugins that your WordPress blog must have:
- Everest Forms: Helps you build forms for your blog website with ease.
- Yoast SEO/All in One SEO: Helps with SEO.
- Easy Social Sharing: Let’s you share your content easily across different platforms.
- Akismet Anti-Spam: Keeps spammers away.
Some premium WordPress plugins you should consider are as follows:
- Elementor Pro: Let’s you build and customize your website effortlessly.
- Sucuri: Keeps your blogging website secure.
- WP Rocket: A caching plugin by WordPress.
- Optimal: Helps in optimizing the images you use in blogs in real-time.
Make sure you always use the updated plugins and themes to ensure the best performance. Back up your website regularly after a specific time.
Optimize your database and run security scans from time to time.
That’s it. Go on and publish your first blog ever. This marks the starting of your blogging journey. Post regularly and make sure that your audience stays connected to the topics you present.
Now it’s time to understand various ways that can help you monetize your blog. The following techniques will help you start earning money and taking a step towards making your blog a huge success.

1. SEO
You’ve taken a lot of effort from determining your niche, gathering information to curating your blog. Don’t let the incoming traffic to your blog be a let-down.
SEO (Search Engine Optimization) is an immensely crucial part of publishing a blog on the internet. It helps you make your website more visible on the internet whenever someone enters the relevant keywords.
You’d want your blog to have the best ranking on search engines, wouldn’t you?
When your blog is SEO-friendly, you can easily target a large audience base.
Here comes the question, “How do you incorporate SEO techniques and optimize your website?”
Keyword Research
Every blog should be optimized around one main keyword. Do not try to squeeze in more keywords as it would harm the visibility and ranking. Make sure you optimize the images in your blog as well.
You can research keywords using the tools and techniques you find online.
You may also use Google Keyword Planner. It’s free.
2. Google Analytics
Google Analytics helps you analyze how your audience is engaging with your content. It is a crucial tool for any blogger to understand the audience trends.
It allows you to identify your most powerful keyword and improve audience interaction. Moreover, it presents you with breakdown analytics showing the source of your traffic and various other parameters.
How can you set up Google Analytics for your blog?
- The foremost step is you sign up for an Analytics Account. Let’s assume you have a blog on Blogger.
- Visit the link, fill in all the details and complete your sign-up process. Once you do this, you will get access to your Analytics Tracking ID.
- Head over to the blog you wish to analyze and navigate to settings. Under the Basic tab, select the option of Google Analytics Property ID.
- Enter the Analytics Tracking ID correctly and click on the save option.
- In the case of a WordPress blog website, you can simply download the MonsterInsights plugin and enable it.
Following are some key terms that can help you get started with using Google Analytics:
- Pageviews: This indicates the number of times a user visited your page.
- Visits: Visit is the time that a user spends on your blog.
- Hits: Hits specify the interactions that take place during a visit.
- Bounce Rate: Bounce rate symbolizes the rate at which an individual only visits a page.
- Traffic Source (New/Referral): Direct traffic visitors visit your site through the URL whereas referral visitors land on your blog via links shared on social media platforms.
3. AdSense
AdSense is a venture by Google that helps you boost your revenue by serving relevant ads to your online content.
These ads are paid for and added by advertisers to promote their products.
All you have to do is create some space for the ads to show up on your website, and you can make money from it online.
Every blogger should know the following key terms of AdSense:
- Click: Click is pretty simple. It means that a visitor chose to look into the ad on your website. This action is recorded as a click on your account.
- Impression: Impressions indicate the number of times a Google ad was displayed on your blog.
- Cost Per Click (CPC): It is a measure marketers or bloggers can decide upon to quantify the value of an ad click.
- Cost Per Mille (CPM): Helps in establishing the rate of 1000 impressions.
Interesting, isn’t it? How can you integrate AdSense into your blog to monetize it?
Method 1:
Sign up for a Google AdSense account. Once your account is approved, you will receive an Ad Code. You need to paste this code on your website to display advertisements.
Method 2:
Head over to your WordPress dashboard and navigate to add a plugin. Click on ‘Add New’ and download and install the plugin name ‘Site Kit’. Activate it and you are ready to use it!
Now that you understand the concept of Google AdSense, we will review some guidelines that have been set by Google.
Dos:
- Use Ethical ways to promote your website.
- Do not steal content.
Don’ts:
- Don’t click on your ads.
- Don’t ask other people to click on ads.
- Do not alter the ad code.
Don’t litter ads around your content. Share ads at a good space where most of your visitors engage.

4. Amazon Affiliate Marketing
The Amazon Affiliate Marketing or Amazon Associates lets you advertise the products from amazon on your website or blog.
They create a custom link that you can put up in your blogs. When a customer clicks on that link, you earn a certain referral fee.
You can follow the steps given below to set up an Amazon Affiliate account:
- Visit Amazon Affiliates Website
- Click on “Join Now for Free”
- Put in the details of your Amazon account or create a new one
- Fill in the details about your blog page or website
- Make a note of your Amazon Affiliate ID and specify a payment method
- Click on get started now to build affiliate links that you can share
To promote these links, you can embed them in texts, write review articles, create ads, embed links in images or create an email list.
The Amazon Associate’s Central gives you reports that you can use to determine your progress and track sales.
Following are some Dos and Don’ts you need to keep in mind while using Amazon Affiliate Marketing:
Do’s:
- Create original content by using your creativity
- Leverage the brand
- Put up valuable information about the product that you are promoting
Don’ts:
- Do not put up deceiving content
- Do not offer incentives like cash back, points etc
- Do not drive traffic from unidentified sources
Amazon Affiliate Marketing is a powerful tool that can help you earn money conveniently. Be wise while selecting products, target proper keywords, create bestseller lists to ensure success with amazon affiliate marketing.
You can also start a YouTube Channel to promote your Amazon Affiliate Links. Check out this article if you want to get some help in starting a YouTube Channel.
Get Traffic
Getting traffic to your blog is essential to create an impact. It can be hard to gain a strong readership. Following techniques can help you in gaining more traffic:
- SEO: Invest in SEO. It is crucial to gain traffic organically. Keywords can work magic to make your blog a huge success.
- Share, Share and Share: You need to share the link to your blog across all your social media handles. Try and get as much attention as you can.
- You can even invest in paid advertisements. Create a campaign using Google Ads or Facebook Ads to drive in more traffic and engagement.
- Measure the ROI of your blog content. The formula is simple: Revenues generated minus the investments, divided by the cost of investments. Implement strategies to generate traffic to your Amazon affiliate links to earn profits.
- You can also consider investing in a sales funnel. It will help you generate more leads and develop a loyal clientele. GrooveFunnels and ClickFunnels are two popular options.
- Make sure the landing page of your website is perfectly optimized. Use split test on your landing page.
- Collect the Email IDs of the visitors by building a sign-up or membership form. Build an email list from the very beginning to take your blogging to a new level altogether.
Starting a blog can be the most empowering and exciting thing that you will do in your life.
I hope this guide makes you feel confident enough to make a decision and start your blog.