How to Start a YouTube Channel and Earn Money Online

Have you ever thought of starting your own YouTube Channel? But you delayed it because you are not sure whether you have the right skills or not?
Or because you find selecting topics, editing videos and reaching out to people difficult? Or you simply feel the competition is already very high?
If the answer is yes, this article will provide you with some tips and tricks on getting ahead quickly! From account setup to content research, editing and monetizing your channel, you will learn everything in detail in this blog.
This is a complete guide to starting a YouTube channel.
Remember, it’s never too late to start your own YouTube channel! And as a matter of fact, the best time to start is right now.
For you, we have simplified the whole process into simple steps along with some tried and tested tips for your success.
YouTube is a free platform where anybody can start their channel and upload content free of cost. But simply uploading content doesn’t guarantee that people will subscribe and like what you will be posting. And that is where proper planning and understanding of the process is essential.
Imagine coming across a video with poor audio or video quality. The person speaking is unclear of his thoughts and mumbling. Would you continue to watch?
You won’t. Similarly, you need to invest your time and money in content research and content creation to stand out.
In the beginning, you can use your mobile to record your videos (if the camera quality is good). But remember to invest in a good quality microphone for better sound quality.
It is a well-known fact that viewers are more likely to watch videos with high audio and video quality than those with poor quality. So, never compromise on the quality.
By now, the whole process of starting the YouTube channel may appear a little complex to you. But you can begin and excel with the proper understanding of the process and the right equipment.
Let’s break the whole process into the following steps:
- Choosing a Niche
- Setting up a YouTube Channel
- Best Equipment for Beginners for Making YouTube Videos
- How to create regular content?
- Finding content ideas
- Best Keyword Research Software in 2021
- Adding Visuals and Sound Effects
- The Best Video Editing Software for Beginners
- Creating Short Video with Stock Elements only
- Level up your Editing and Presentation Skills
- How to upload content on YouTube?
- Creating Attractive Thumbnails
- Adding Title and Tags
- Monetizing your YouTube Channel


Choosing a Niche
Every other article speaks of choosing a niche before creating a new YouTube channel. But what is a niche?
The niche is a particular area that appeals to a small, specialized section of the population. For example: beauty, traveling, comedy, DIY, etc.
If you plan to start your YouTube channel, you must decide on your niche. It can be either beauty or comedy or educational etc. Ask a straightforward question to yourself, “what is my channel about?”
Start by choosing one niche you want to focus on. You don’t want to be a jack of all trades and master of none. So, be specific.
Your viewers must know what your channel is exactly about and what type of content they can expect. This way, you sell your value proposition.
After finalizing your niche, let’s get started with setting up the YouTube account!
Setting up a YouTube Channel
Setting up a new YouTube Channel is very easy. If you have a Gmail Account, you can connect your new channel with your email address.
Follow the steps below and you are good to go.
- Sign in to YouTube with your Email ID
- Click on your picture in the top right corner
- Select the “Create a Channel” option
- Either create a custom name for your channel or use your name associated with your Email ID
- Add details about the channel in the “About” section
- Upload a Cover Photo and Profile Picture for your channel
- Fill out more details and add a link to your other social media accounts
- Upload your first video
- Create Playlists to keep your channel sorted
Best Equipment for Beginners for Making YouTube Videos
As you have set up your YouTube channel, you need to start putting content on it.
But before that, you need to create it. A lot of people waste their time and money purchasing unnecessary equipment for their video recording. Don’t fall for the trap. As a beginner, you need to invest only in essential equipment, including the following.
A High-Resolution Camera
The first thing you need is a high-resolution camera. Initially, you might be willing to record with your mobile, but soon you will realize the importance of good video quality. Moreover mobile phones may not be suitable for long form video recording purposes.
And hence before investing in a camera, first, understand your requirements. If you are a vlogger, opt for a mirrorless or action camera with a shotgun mic. This mic captures audio only from the front and ignores all the sound coming from the sides.
For videos other than vlogs, you can choose a DSLR.
Check out my recommendations for the best cameras for beginners.
A dedicated Mic and Tripod
You need to invest in a good microphone too. Bad audio quality can have a bad impact on the audience.
But, again, there are multiple options available, like a shotgun mic, a lavalier mic (one that you can pin to your shirt) and a condenser mic (mostly for podcasts).
Along with a camera and mic, don’t forget to purchase a tripod (for video recording) or a good monopod or handheld gimbal stabilizer (for vlogging purposes).
You might feel the list is complete. But what if I say you missed an essential item?
Well, a good quality camera with a dedicated mic along with a tripod might appear enough, but poor lighting can ruin all your efforts and give a wrong impression of your skills.
Professional Lighting
Any professional videographer will verify the fact that lighting has a significant impact on the video quality.
Save some money and invest it into lights like Softbox Lighting, LED lighting, or a Ring Light depending on your budget and requirements.
You may check out all my equipment recommendations for beginners here.
And now you are ready to record content for your YouTube channel. Let’s begin with content generation.
How to create regular content?
The success mantra for YouTube is consistency. Be regular to create and post videos on YouTube. But how do you generate ideas?
While starting your YouTube channel, you have finalized your niche. And now, we will create content around that niche.
Keep yourself in the shoes of your audience and ask, “what do you want to know about?” One of the simplest examples is to create “how-to” videos.
For example, “how to make a Pizza?” or “how to clean your laptop?”
Sounds interesting, right!
But remember, keep the content engaging. Your audience should connect with it.
Decide on a video structure at the beginning itself. For that, you can create a template that will guide you throughout the video.
For example, start your video with an introduction followed by a brief teaser of what you will cover in the video and then jump to the main content. To have an idea for the same, you can take inspiration from other YouTubers.
Watch their videos, observe their format, note down your ideas and create your own version with your inputs. But remember, never copy someone’s video, it is against YouTube Policy. Now it’s time to learn how to find content ideas.
Finding content ideas
Imagine if you can find out what people are actually searching for on YouTube? What the audience really wants to watch and you can create your content around it. Sounds exciting, right. But is it possible?
Continue reading the blog and you will find answers to all your questions.
Yes, you can actually find out what people are searching on YouTube. It is known as ‘keyword research’. But what is keyword research and how do we do it? Let’s understand Keywords first.
Keywords are the terms people use to find content on YouTube. For example, dance tutorial for bollywood songs.
Here, “dance tutorial for bollywood songs” is the keyword. When we use tools and software to find the keywords people use to watch content on YouTube, it is known as Keyword Research.
It may sound a bit technical. But don’t worry, it is not as difficult as it sounds. Instead, it is a lot easier with the right software.
Best Keyword Research Software
You can even start Keyword Researching for free with YouTube Auto Suggest. Whenever you start typing in the YouTube Search Box, YouTube gives you keyword suggesstions that people are actually searching for. Try searching for a topic that you want to make a video about and get a lot of ideas around those topics.
For professional results, of all the options available in the market, the best you can use is either VidIQ or TubeBuddy. Let’s understand the benefits of both software and then decide which one to choose.

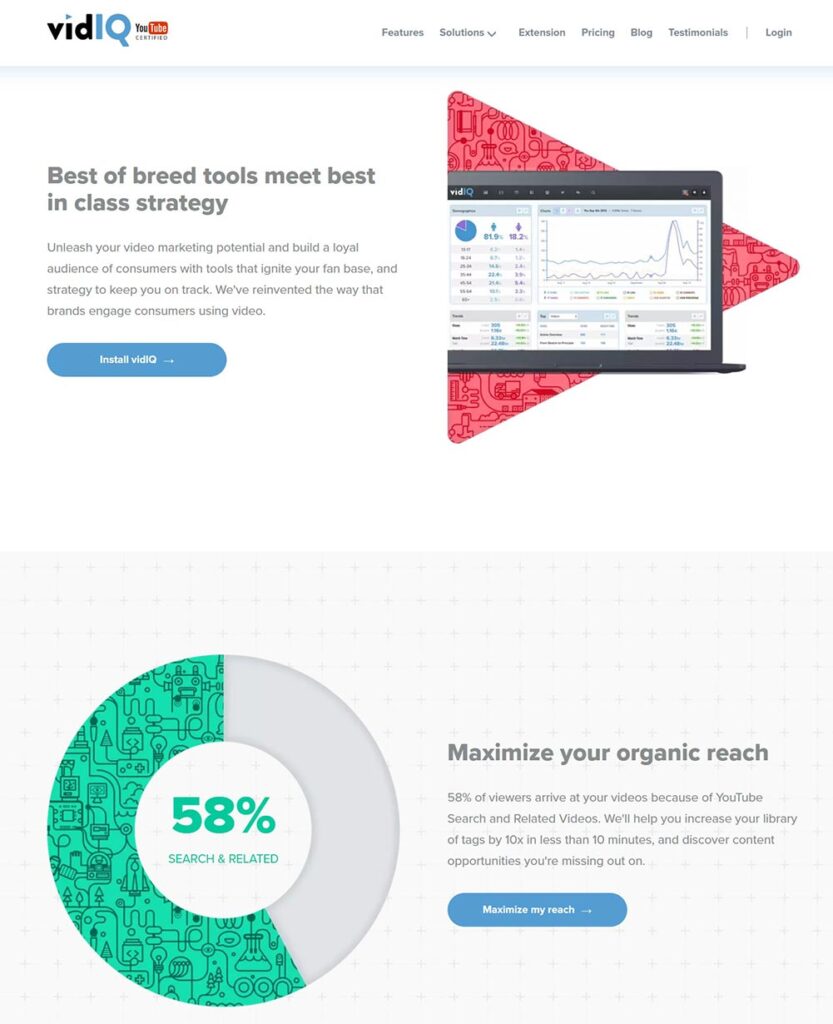
VidIQ is a tool that helps you to find popular keywords on YouTube. At the same time, it provides you other insights on other channels in the same niche.
For the trial, you can use its free version with some basic features. But to explore the full potential, we need its paid version. After which, you can add it as a browser extension. A paid subscription can provide the following benefits.
Pros:
- It shows you a keyword score for every searched keyword. The score depends on the keyword difficulty, how difficult it is to rank on this keyword and the search volume, how many people are searching for this keyword. A score above 50 is a good one, and you can make videos on it.
- It helps you find the relevant tags for your videos which will help them rank on YouTube.
- You can also gain insights on other channels’ rank on a particular keyword, the watch count and subscribers for that channel.
- It helps you audit your channel and provides you insights that will help you improve your chances of success.


Another tool you can use is TubeBuddy. If you want to go one step ahead in the content research process, you can opt for TubeBuddy.
Pros:
- Along with finding keywords, tags and auditing your channel, it offers some unique features like bulk management tools and A/B testing.
- In bulk management, you can manage multiple comments, replies and videos in one go. It makes managing the YouTube channel very easy.
- Its unique feature helps you decide which thumbnail has a higher Click Through Rate.
- It makes your YouTube channel management easy.
- It’s relatively more affordable than VidIQ.
Thumbnail has a significant impact in converting your video to huge success and TubeBuddy is the only software that helps you analyze which thumbnail performs better. You can simply enroll in a subscription plan and add it as an extension on your browser and see the magic happening.
So, the borderline is that you can choose from VidIQ and TubeBuddy for content research and valuable insights.
If you want to find keywords and tags for videos, you can go for VidIQ, but if you’re going to go one step ahead and do A/B testing on your thumbnails, you can opt for TubeBuddy.
Now we are done with content research. You can simply grab a camera and record your content now. Let’s move on to the next step, adding visuals and sound to your video.
Adding Visuals and Sound Effects

Adding Stock Footage to Videos
To make your video more informative and engaging at the same time, it is important to add visuals in the form of stock images and videos.
You really don’t want to upload a dull, boring video without any music or special effects. But at the same time, you want to make sure that you don’t do a copyright infringement. So, where to find stock footage?
And most importantly, what is stock footage?
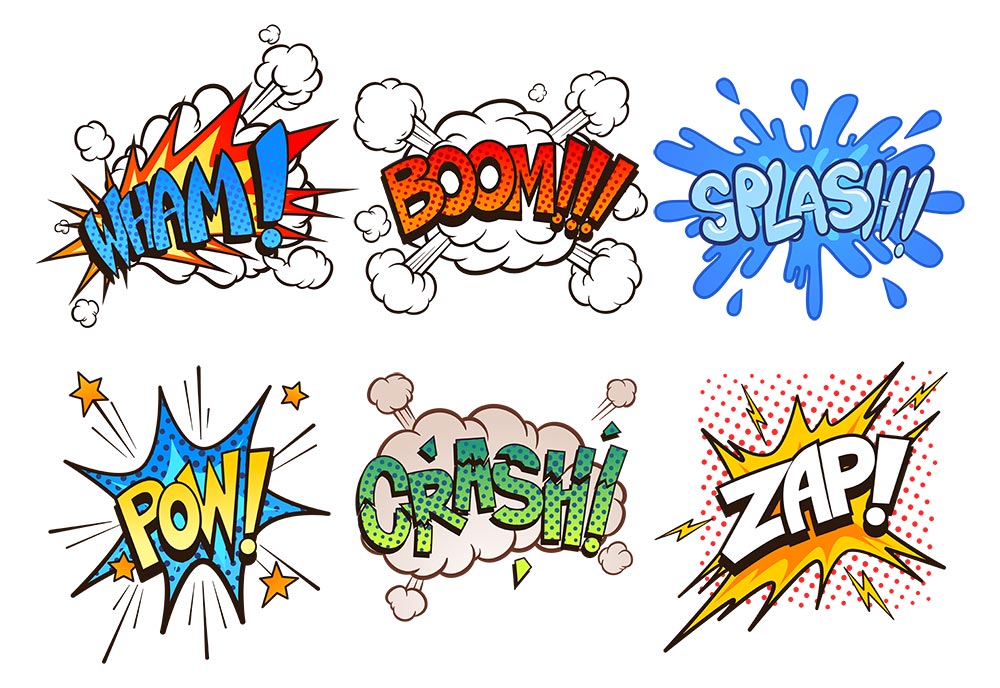
Stock footages are short-length clips available that you can buy and use in your videos without the fear of copyright infringement. But why should I use it?
Because, using stock footage not only saves you a lot of time but adds production value and you can use it for video clips that you cannot shoot due to technical and budget constraints.
Even some of the more prominent YouTubers use stock footage in their videos instead of actually shooting those clips themselves. Again, this is a smart way of creating content without much hassle.
You can simply download and use the stock footage in your videos and make your content more valuable.
Among other websites, the best website for stock footage is Envato Elements, where they offer millions of premium stock footage available to download and ready to use.

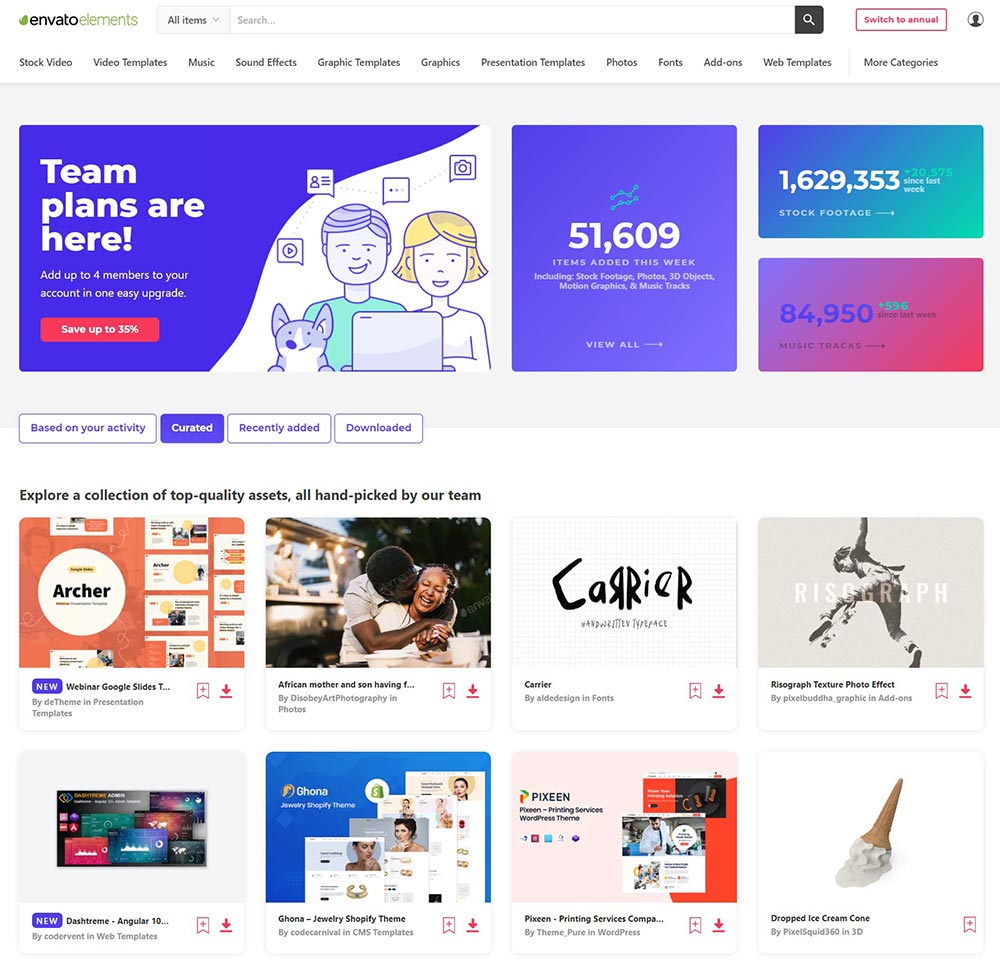
Pros:
- It offers a wide range of premium stock footage available to download and ready to use.
- A single subscription for multiple elements.
- Filters available to choose from the list and make your experience smoother.
- No copyright infringement issue.
- Monthly plans start from $16.50 only.
- You can easily filter them based on parameters like frame rates and categories to find suitable footage for you.
- With a single subscription you get Stock Images, Royalty Free Music, Sound Effects, After Effects Templates, Premium Fonts, Premium WordPress Themes, 3D Elements etc.
I can’t recommend Envato Elements enough if you are starting a YouTube Channel or you’re a freelance video editor.
Adding High-Quality Copyright Free Music
Besides stock footage, you also need to add soundtracks and music to your video to transform it. YouTube itself offers a free music library that all the creators can access and use in their videos.
For this, you simply need to:
- Click on your profile icon on the right-most corner of YouTube.
- Sign in to YouTube Studio.
- From the left menu, select Audio Library.
The YouTube library is undoubtedly a great tool available for free, but it has got limited tracks. Do not stop your YouTube growth because of the limited access. You can explore and access more by using music and soundtracks from Envato Elements.
Yes, the same Envato Elements you used for stock footage. You can get access to thousands of sounds in the same subscription. A single subscription provides you access to unlimited downloads of soundtracks, music and stock footage. And that’s not it, they update their library every now and then to provide you with the best options.
Today, almost every YouTuber uses Envato Elements to find a suitable soundtrack for their video. It is very affordable at the same time. Once you switch to Envato Elements, there is no going back.
Great, we have got everything we need to edit our video. Let’s move to the editing section.
The Best Editing Software for Beginners
Editing gives our ideas and content a final look. But, most people don’t know much about editing, and they fall into the trap of wasting money on fancy software.
As a result, people mostly either opt for very basic software or opt for very difficult to use expensive software and end up wasting time, money and energy with no valuable outputs.
Don’t purchase any fancy, expensive editing software as these are not only costly but difficult to use for most people. Instead, opt for Filmora.


Filmora is a budget-friendly, professional and easy-to-use video editing software that you can use to edit all your YouTube videos even if you have no prior experience.
Pros:
- It is user-friendly software.
- It provides access to advanced effects and transitions that can completely transform your video.
- From color correction to audio ducking to royalty-free media, you get everything you need.
- It offers features like motion tracking, chroma-key (also known as the green screen effect), screen recorder, lens correction, audio enhancement, noise reduction, masking, audio mixer, 360-degree video effects, video stabilization, and many more.
- It works efficiently on both Windows and Mac.
Filmora is the one-stop solution for all video editing needs.
They offer monthly, yearly and perpetual plans that you can choose as per your need and budget.
Creating Short Videos with Stock Elements only
There is a whole genre of videos where you don’t need to record yourself in front of a camera. Instead, you can use stock elements to create an entire video.
For example, motivational videos. You can simply use stock elements, sound effects or voice-over.
For this, there is an editor called InVideo that helps you make professional videos from premium templates, images and music. You can work with pre-existing templates and save time. Smart work is always better than hard work.

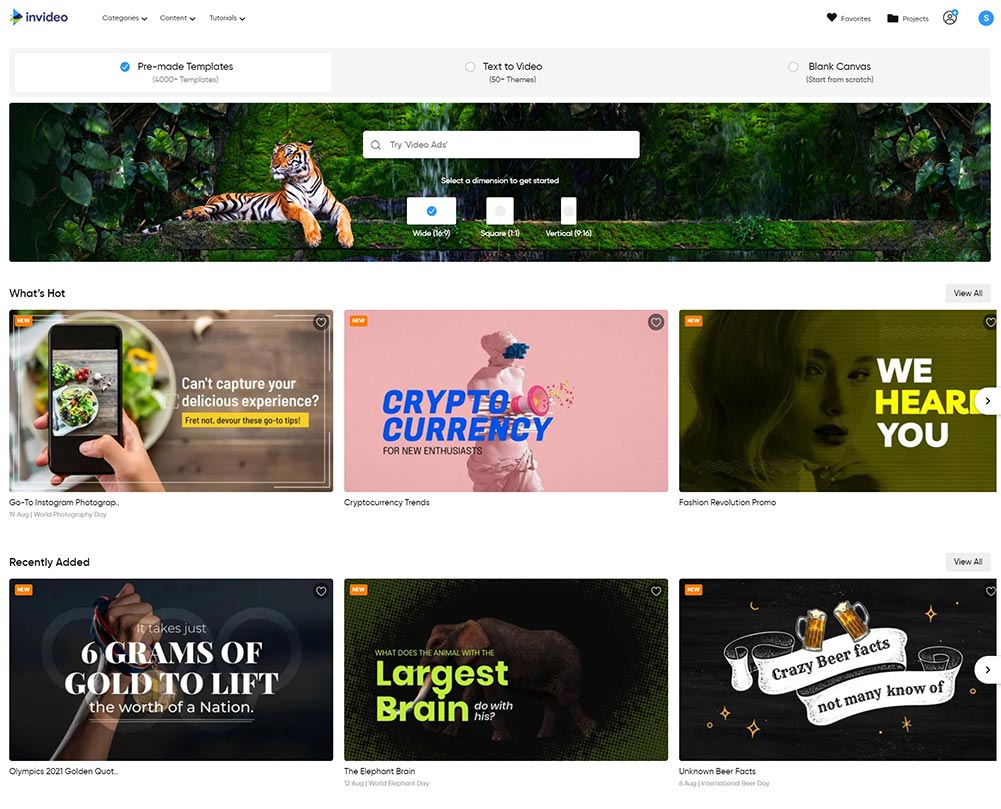
Pros:
- It offers a wide range of premium templates, images and music.
- It provides a unique feature to convert text into video.
- Offers 2 modes, easy mode and expert mode, for a better user experience.
- User-friendly interface.
Let’s understand it with an example. If you have a blog or an article that you want to convert into a video, you just need to paste the article in InVideo and it will generate a video based on it within just a few minutes. See how smooth the process is. The interface is even smoother.
Use the Coupon Code “SUBH25” to get a 25% discount while purchasing through this link.
Now you don’t need to struggle to create videos for your blog content.
You may check out my full review and tutorial of InVideo in Hindi here:
![Best Video Editing Software Without any Watermark in 2021 | InVideo [HINDI]](https://i.ytimg.com/vi/Z_kCP8kTVvE/hqdefault.jpg)
Level up your Editing and Presentation Skills
Someone has rightly said, perfection is a journey, not a destination. And you will upgrade your skills with every new video.
But to have an extra edge, you can start a little prepared. How?
You can learn and upgrade your editing, communication and recording skills. There are hundreds of platforms that claim to help you boost your skills, but almost all of them serve with theory only with little or no practical knowledge.
Instead, you can learn from SkillShare.

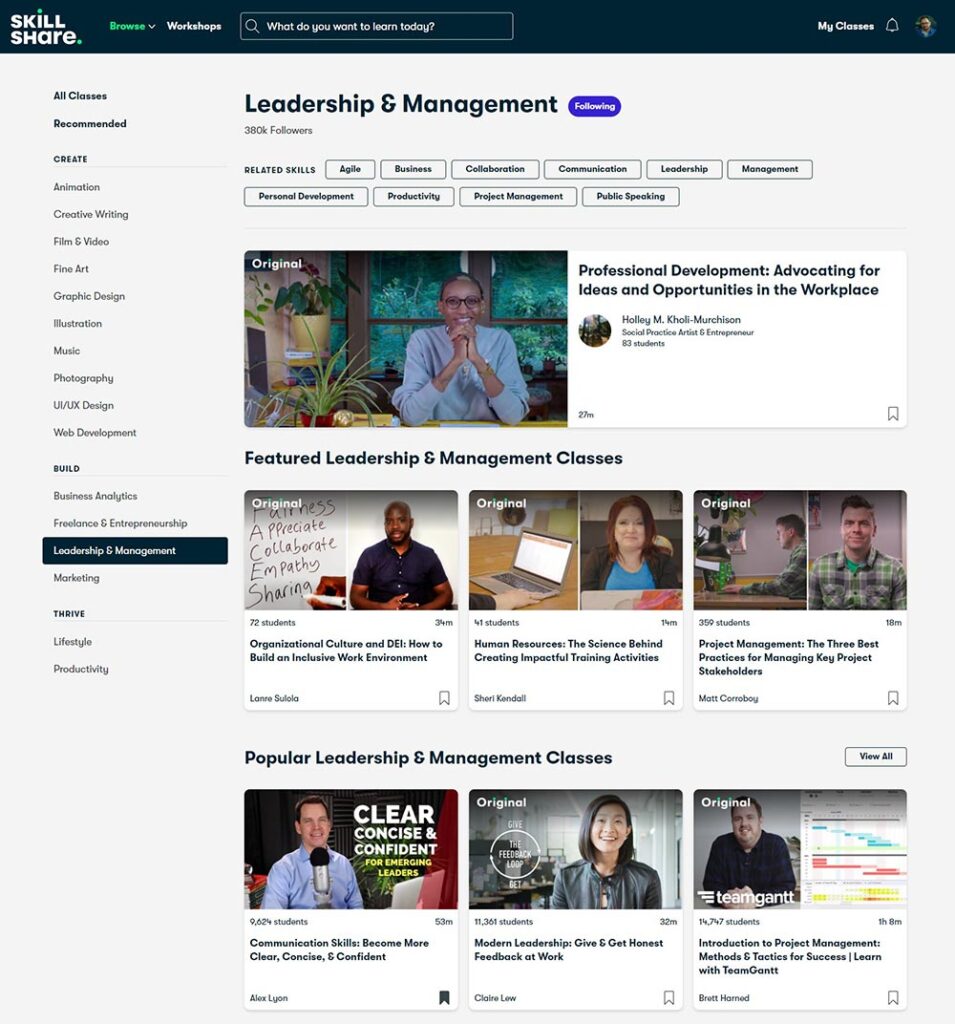
SkillShare is an online educational platform where you can upgrade your skills with just a single subscription. Imagine spending just a single subscription to get access to unlimited courses on various topics.
Pros:
- SkillShare offers practical and experience-based content.
- You learn from highly experienced professionals.
- It provides quality content in modules that you can learn at your own pace.
- Learn conveniently through its website or app.
- The interface is user-friendly, which means it is designed from the user’s perspective.
You can learn video editing and various other skills, including recording and interacting with your audience in a single subscription. After upgrading your skills, you will automatically be one step ahead of others.
In short, SkillShare is a goldmine of knowledge. Now, it’s up to you how much you want to gain from it.
Moreover if you join thorugh this link, you will get a free trial.
How to upload content on YouTube?
Now, we are at the final step of starting a YouTube Channel. You need to upload the video, create a thumbnail, give a title, description and tags. And then your video will be live on YouTube.
But wait, what is a thumbnail, and why do we need it?
Thumbnail is basically an image that lets the viewers have an idea of the content in your video. After uploading your video, you can choose a thumbnail from the video itself or upload your own.
Creating Attractive Thumbnails
You need an attractive thumbnail so that people actually click on your video. To do so, you can use a fantastic tool, Canva.

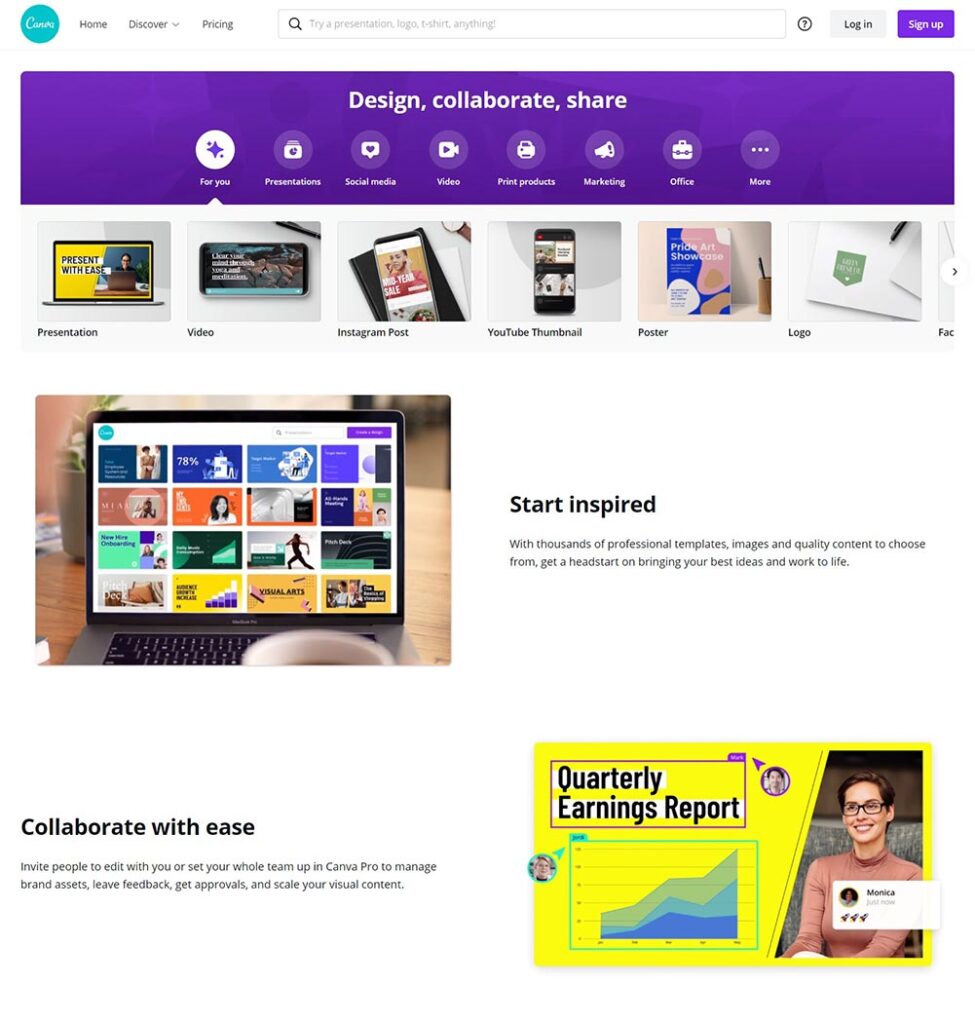
Canva is one of the most popular online graphic design software, requiring almost no designing skills. It has a drag-and-drop editor that means you just choose an element and simply drag it to the screen.
Pros:
- It does not require prior knowledge of designing skills.
- It has a drag-and-drop editor.
- You can use hundreds of free templates available.
- You can also create an entirely new thumbnail from scratch.
- You can add icons, shapes, stickers and fonts from its library.
- You can create and download thumbnails in your desired format.
They have a free version with limited features. But once you are a premium member, it offers access to thousands of stock images, templates, effects that can add value to your work.
You can simply download your thumbnail and upload it.
Adding Title and Tags
After creating and uploading a thumbnail, you need to add a title and description for the video. Don’t forget to mention your keyword in the title and description.
Through keywords, YouTube and your viewers will understand the context of your video and help you gain a wider reach. The description should be at least 200 words. Use relevant tags that you can find using VidIQ or TubeBuddy. This will help your video rank better and reach more audiences.
Monetizing your YouTube Channel
Now that you are done with all the steps of starting a YouTube Channel, it’s time to monetize it through YPP.
YouTube Partner Program, also known as YPP, is a program that helps you earn revenue by running ads on your channel. There are a few requirements that need to be fulfilled to be eligible for YPP. Once you fulfill them, YouTube starts paying you.
Need for Google AdSense Account
YouTube cannot directly send money to your bank account. Instead, it uses Google AdSense as an intermediary. It sends money to google AdSense, which further sends money to your bank account. And that is why it is important to have a Google AdSense account. If you don’t have the AdSense account, don’t worry, we will guide you later in this blog.
Basic Requirements to Apply to YPP
So, there are 4 basic requirements before applying to YPP.
- You need to have 1000 subscribers on your YouTube Channel.
- Your videos should have 4,000 Hours of Watch Time over the last 12 months.
- You don’t violate any of YouTube’s Policies and Community Guidelines.
- You have an AdSense Account set up.
Once you fulfill all these requirements, you can apply for YPP. But make sure you have selected the correct country while setting your YouTube channel. If not, you can change it by going to the settings and clicking on the country tab and select country of residence.
It is crucial to select the correct country; otherwise, your account will not be verified.
Applying to YPP
To apply for YPP
- Log in to your YouTube
- Go to the YouTube Studio (click your profile image and select YouTube Studio)
- Click Monetization in the left navigation menu
There you can check your subscriber’s count and YouTube watch hours. When you reach both milestones, you’ll see a blue button prompting you to “Apply Now”.
Click on it, and you’ll be asked to complete the following three steps.
Review YPP’s Terms
Here you accept the terms and conditions of the YPP program. You should be more than 18 years of age. If you’re under 18, get a parent or legal guardian to go through the application with you. After accepting the terms, move to the next step.
Set Up and Connect a Google AdSense Account to Your Channel
Click the “Start” button while setting up a Google AdSense account. For security reasons, you’ll be prompted to log in to your Google Account. After logging in, you’ll be asked whether you currently have an AdSense Account.
If you’re creating a new one, select “I don’t have an AdSense account” and follow all on-screen instructions. After filling in the requirements, your account will be set up.
Wait for YouTube to Review Your Channel and Inform You of its Decision
YouTube will review your account for its terms and conditions. It usually takes a month for verification. After verification, you can now earn through YouTube ads.
This was all about YPP, but you can also earn some extra bucks through Affiliate Marketing. The process is straightforward.
Affiliate Marketing to Earn Revenue
You can do affiliate marketing for any brand. Simply visit their website, enroll in their affiliate program. Once you create an account, you can simply generate links for the products and add them to the description of your video. Then, whenever someone buys the product through the link, you get a commission.
The go-to Affiliate Program for all YouTubers are the Amazon Affiliate Program. If you want to know more about it or you want to start a blog and need help, then you may check out this article.
We hope that this blog post has helped you learn all the important aspects of how to start your YouTube Channel. If you have any questions or comments, please leave them in the comment section below!
Now it’s time for you to go ahead and start creating some great videos so you can monetize your YouTube Channel and earn money from it! Happy video-making!